Compare Uluru photography tour types—sunrise, astro, and drone—to find the right fit for your skill level, gear, and travel style before you book.
Uluru Photography Tours: Best Options for Impressive Shots
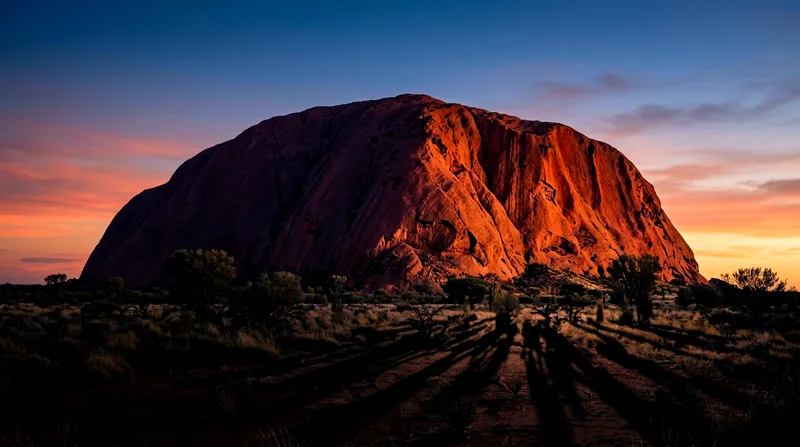
Uluru changes color more dramatically than almost any landmark in Australia—deep ochre at dawn, flat brown-grey at midday, and a burnt orange-red that seems to glow from within just after sunset. A standard day-tour itinerary gets you a glance at this. A dedicated Uluru photography tour gets you the right spot, at the right minute, with enough time to actually work the shot instead of fumbling with settings while a bus idles nearby.
That's the core trade-off worth understanding before you book anything. General sightseeing tours at Uluru-Kata Tjuta National Park are built for breadth: a bit of Uluru, a bit of Kata Tjuta, maybe a cultural walk with Aboriginal guides. Photography-specific tours are built for depth—fewer stops, longer dwell time, and itineraries timed against sunrise, moonrise, or the Milky Way's position rather than bus schedules. If you're bringing a Canon or Nikon body and actually want to use it, that distinction matters more than anything else on this page.
Who Each Photography Tour Suits
Not every photography tour at Uluru is built for the same person, and tour operators rarely spell this out clearly on their booking pages. Here's how to self-assess before you pay the premium these tours usually command over standard sightseeing options.
Hobbyists and smartphone photographers
If you're shooting on a phone or a basic point-and-shoot, you don't need a specialized astro or drone tour—you need good positioning and good light, which a standard sunrise or sunset viewing tour already provides. Many general Red Centre tours include a sunrise stop at a dedicated viewing area with unobstructed sightlines to Uluru, and that's genuinely enough for excellent phone photography given how modern phone cameras handle low light. Save the extra cost of a specialist photography tour for later, once you've got gear that benefits from technical coaching.
Serious amateurs and DSLR users
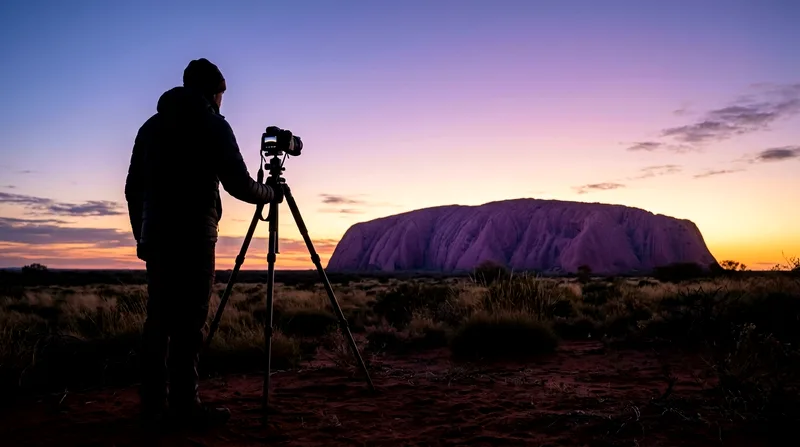
This is the group dedicated photography tours are actually designed for. If you own a DSLR or mirrorless camera, understand manual exposure, and want help with composition, filters, or timing the light, a small-group sunrise or astro tour is worth the premium. Expect guides who can talk you through exposure bracketing for the color transition at sunrise, or long-exposure settings for a star trail shot. Group sizes on these tours tend to run smaller—often under 15 people—specifically so everyone gets tripod space at the viewing point.
Professional photographers and content creators
Professionals and serious content creators usually want two things a standard tour can't offer: flexibility on timing and permission for specialized equipment like drones. Some operators offer semi-private or private photography charters that let you dictate the schedule within the park's opening hours, which run roughly from before sunrise to after sunset depending on the season. If drone footage is central to your work, confirm permissions well before travel—Uluru-Kata Tjuta National Park has tightly restricted drone use, and flying without the correct permit is not a grey area; park rangers do enforce it.
Main Photography Tour Categories
Photography tours at Uluru generally fall into three categories, and each delivers a fundamentally different kind of image. Understanding what each one is actually selling will save you from booking the wrong experience for your goals.
Sunrise photography tours
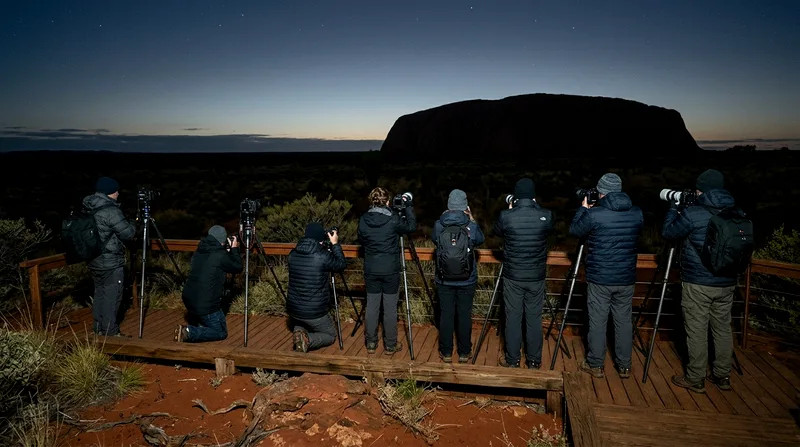
Sunrise tours are the most common and arguably the most reliable photography experience at Uluru. You're picked up well before dawn—often around 4:30 to 5:30 am depending on the season—and driven to a designated sunrise viewing area with clear, unobstructed views of the rock. The appeal is the color shift: Uluru moves through purple-grey, deep red, and burnt orange in the span of about 20 to 30 minutes as the sun climbs. Good tours build in time before and after this window so you're not rushed mid-shoot. The downside is that these viewing areas get crowded, especially during the cooler months (May to September) when visitor numbers peak—arriving early and choosing a tour with a smaller group size directly affects how much elbow room you get at the fence line.
Astro and night sky tours
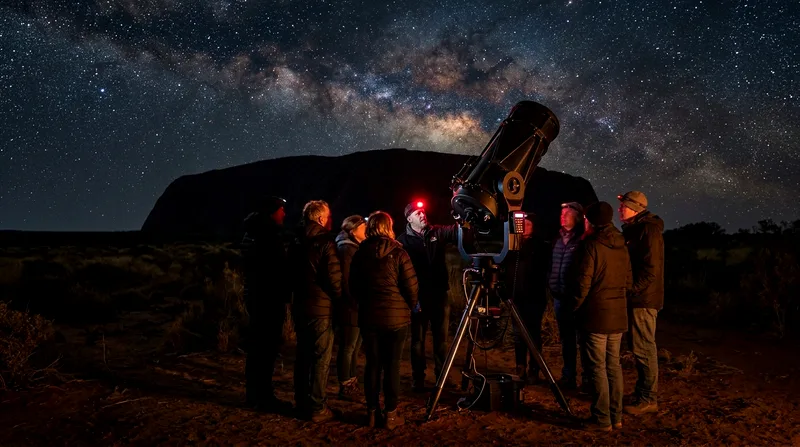
The Red Centre has some of the darkest skies accessible to international travelers, and astro photography tours exploit that directly. These run on clear, moonless nights—tour operators typically schedule around the lunar calendar, avoiding the week either side of a full moon—and focus on long-exposure shots of the Milky Way arching over Uluru's silhouette. You'll need a camera capable of manual exposure control; phone astrophotography modes have improved but still can't match a dedicated sensor for this kind of shot. Expect the guide to bring or recommend sturdy tripods, since any exposure longer than a second or two will blur on a handheld shot. Honestly, astro tours are the most weather-dependent of the three categories—cloud cover ruins the shot entirely, and tours rarely offer a rain-check beyond rescheduling if cloud cover is forecast.
Drone photography experiences
Drone photography at Uluru is heavily restricted, and this is where a lot of travelers get caught out. Flying a personal drone, including a DJI, anywhere inside Uluru-Kata Tjuta National Park is prohibited without specific authorization, out of respect for the cultural and spiritual significance of the site to its Anangu traditional owners. A small number of operators hold permits for authorized aerial photography, typically working with a licensed drone pilot who captures footage on your behalf rather than letting you fly your own unit. If aerial shots matter to your trip, don't assume you can simply bring your drone from home—check the specific tour's permit status and what footage you'll actually receive before paying for a "drone" experience.
Tour Comparison: Sunrise vs Astro vs Drone
Laid side by side, the differences between these three tour types come down to timing flexibility, technical demand, and what kind of final image you walk away with. None is objectively "better"—they serve different creative goals.
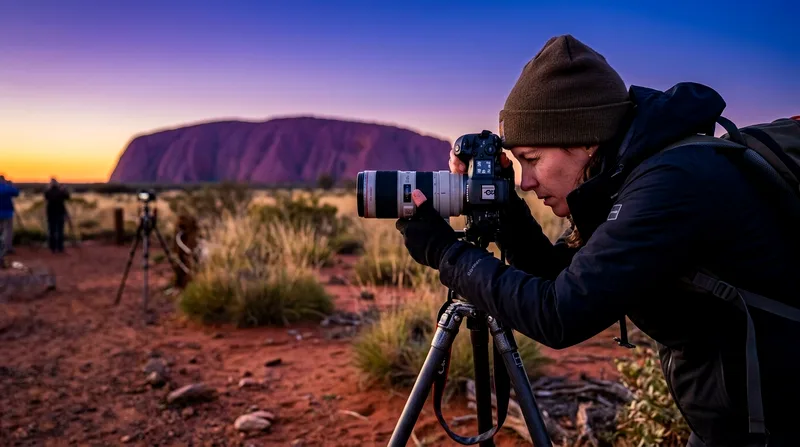
Sunrise tours offer the most reliable results for most photographers, while astro and drone tours demand more planning and weather luck.
Uluru photography tour types compared: duration, group size, and cost
| Tour Type | Typical Duration | Group Size | Cost Range | Gear Needed |
|---|---|---|---|---|
| Sunrise photography tour | 2–4 hours | Small (8–15) | Moderate | DSLR/mirrorless, tripod recommended |
| Astro/night sky tour | 3–5 hours | Small (6–12) | Moderate-high | Manual camera, sturdy tripod, remote shutter |
| Drone/aerial experience | 1–3 hours | Private/semi-private | High | Provided by licensed pilot; no personal drones |
| General sightseeing tour (photo stops) | Full day | Large (20–40+) | Low-moderate | Phone or basic camera sufficient |
Figures are typical ranges based on common tour structures; always confirm exact duration, group size, and current pricing when booking.
Duration, group size, and cost
Sunrise tours are the shortest and cheapest of the three, usually wrapping up by mid-morning with time left for breakfast or a Kata Tjuta visit afterward. Astro tours run longer because of setup time and the need to wait for full darkness, and they tend to cost a bit more per person given the smaller groups and specialized timing. Drone experiences are priced highest relative to duration because you're paying for a licensed operator's equipment and permit access, not just transport and guiding. If budget is tight, a standard sunrise tour delivers the best value-to-result ratio by a wide margin.
Gear requirements and technical support
Sunrise tours require the least technical gear—a camera with basic manual controls and a tripod will get you a strong result. Astro tours are far less forgiving: you need a camera capable of high ISO performance with manageable noise, a wide-aperture lens (f/2.8 or faster is ideal), and a tripod rated to hold steady in desert wind gusts, which pick up more than people expect after dark. Guides on astro tours typically offer more hands-on technical coaching, since getting a sharp Milky Way shot involves balancing exposure time, ISO, and focus in near-total darkness. Drone experiences require essentially no gear from you at all, since the licensed pilot handles the equipment entirely.
What to Look for When Booking
Photography tours vary more in substance than their marketing suggests, and the details buried in the fine print matter more than the hero image on the booking page.
Inclusions, group size, and cancellation policy
Check exactly what's included—some sunrise tours bundle in a light breakfast or hot drinks, others are transport-and-access only. Group size is the single biggest factor in how much usable shooting time you'll actually get at a viewing platform; a tour capped at 10–12 people will feel completely different from one running 30-plus. Cancellation and weather policies matter enormously for astro tours specifically, since a cloudy night can void the entire point of the trip—look for operators who explicitly offer a reschedule option for weather, not just a standard non-refundable policy. Read recent reviews for mentions of overcrowding at viewing points, which is a recurring complaint during the peak winter season (June–August).
Guide expertise and equipment provided
Ask whether the guide has photography training specifically, not just general tour-guiding experience—plenty of general Red Centre guides can point you to a nice view but can't help you troubleshoot a blown-out highlight or a soft-focus star shot. Some tours provide loaner tripods or filters; most don't, so confirm before assuming you won't need to pack your own. If cultural interpretation matters to you, ask whether Aboriginal guides are involved, since some tours combine photography instruction with Anangu cultural commentary on the landscape's significance—this adds depth well beyond a technical photo stop.
When to Book Your Photography Tour
Timing affects photography tour outcomes at Uluru more than almost any other variable, and it's worth planning around rather than fitting the tour into a fixed itinerary.
Best seasons and weather conditions
The cooler months from April to September bring clearer skies, lower humidity, and more comfortable pre-dawn temperatures for sunrise shoots—though nights can drop close to freezing in July, so pack layers. This period is also better for astro photography since cloud cover is less frequent than in the wetter summer months (December to February), when the Red Centre sees occasional storms that can produce dramatic but unpredictable skies. Summer heat, often climbing past 38°C (100°F) by midday, makes anything beyond early morning shooting uncomfortable and occasionally unsafe, so sunrise tours become even more essential rather than optional during that stretch.
Advance booking recommendations
Book photography-specific tours at least a few weeks ahead during peak season (June–August), since small-group tours sell out faster than standard sightseeing options—there are simply fewer seats available per departure. Astro tours need extra lead time because operators schedule around moon phases, so a good moonless window might only come up a handful of times per month. If your trip dates are fixed, check the lunar calendar before booking an astro tour specifically, and always compare current prices and reviews across a couple of options before paying, since availability and conditions shift tour to tour.
Frequently asked questions
What gear do I need for a Uluru photography tour?
For a sunrise tour, a camera with manual exposure control and a tripod is sufficient—a smartphone works reasonably well too. For astro tours, you'll want a camera that handles high ISO cleanly, a fast wide-angle lens (f/2.8 or wider), a sturdy tripod, and ideally a remote shutter release to avoid camera shake during long exposures. Drone experiences require no personal gear since a licensed pilot operates the equipment on your behalf.
Are photography tours suitable for beginners?
Sunrise tours are genuinely beginner-friendly—guides typically offer basic composition and exposure tips, and the light does most of the work for you. Astro tours are more technically demanding and can frustrate beginners unfamiliar with manual camera settings, so consider a sunrise tour first if you're new to a DSLR or mirrorless camera.
What is the best time of year for photography at Uluru?
April through September offers the clearest skies, driest conditions, and most comfortable temperatures for both sunrise and astro photography. Winter nights (June–August) get cold, often near freezing before dawn, so pack warm layers even though midday temperatures feel pleasant.
Do photography tours include drone flights?
Most standard photography tours do not include drone flights, since personal drone use is prohibited inside Uluru-Kata Tjuta National Park without specific authorization. A small number of operators hold permits and provide aerial footage via a licensed pilot—confirm this explicitly before booking if drone shots are a priority.
What is the typical group size for photography tours?
Dedicated photography tours usually cap groups at around 6 to 15 people to ensure everyone gets usable tripod space and viewing access. General sightseeing tours with a photo stop included can run considerably larger, sometimes 30 or more, which noticeably reduces your shooting room at peak viewing points.